Tutorials / Getting started
Getting started
Create your organization, set up your categories and team, and get the console ready for your first vendor.
- 1
Create your account and organization
Head to Create an accountand enter your name, your organization's name, and an email and password. Signing up creates the organization and makes you its first Admin — admins can manage settings, templates, questionnaires, and users; members can work with vendors, audits, and reviews.
- 2
Set your warning window
In Settings → Organization, choose how many days of advance notice you want before a document expires. This drives the amber Expiring soon flags across the app and the daily alert emails.
- 3
Define your category lists
In Settings → Categories, create the Specialty and Fieldlists your organization actually uses — for example “Plumbing” or “IT services”. These become the dropdown options when you add vendors, so your directory stays consistent and filterable. If you produce vendor lists for specific clients, also add those clients under Settings → Clients — vendors can then be approved per client and reported on per client.
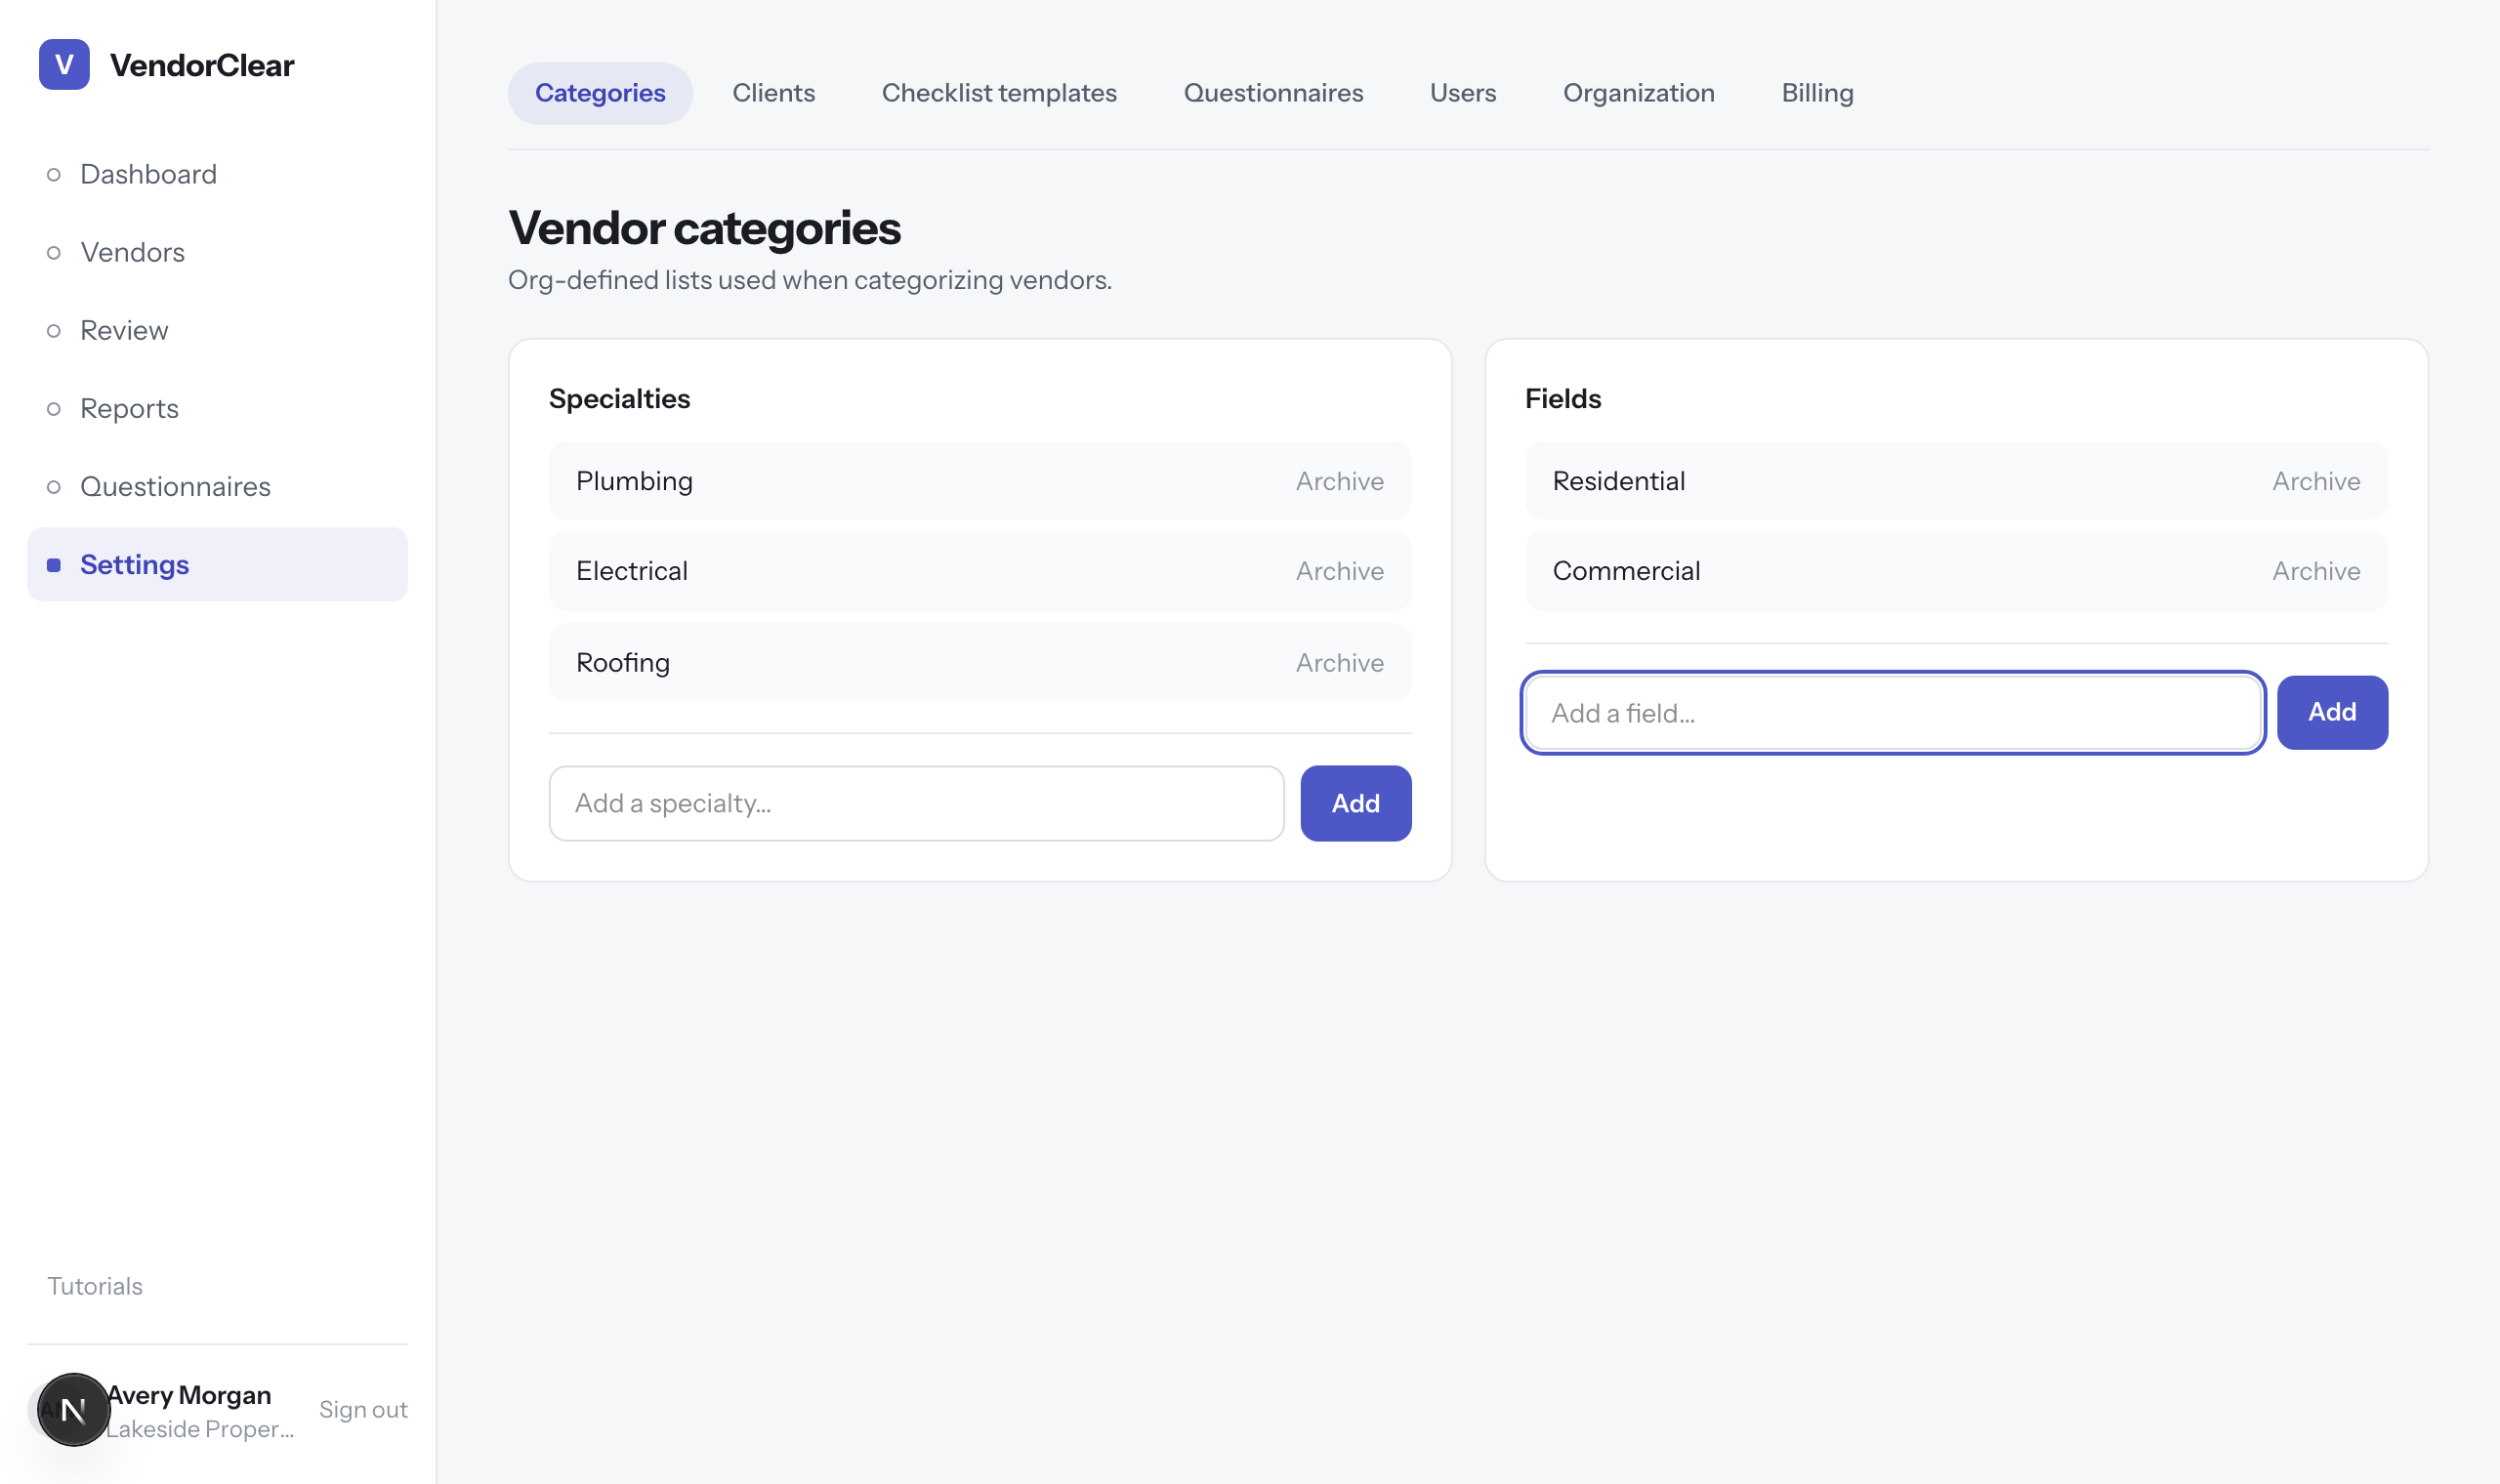
Settings → Categories — the lists behind the vendor form's dropdowns. - 4
Invite your team
In Settings → Users, send email invitations and pick a role for each person. Invitees click the link in their email, set a password, and land inside your organization — they never see another organization's data.
Tip · You can run the whole app solo. Invite teammates whenever you're ready; nothing else depends on it. - 5
Take the tour
The sidebar is the whole map: Dashboard for what needs attention, Vendors for the directory and profiles, Review for submissions waiting on you (with a live count), Reports for vendor-status exports and client-specific reports, Questionnaires to build question sets, and Settings for everything else.
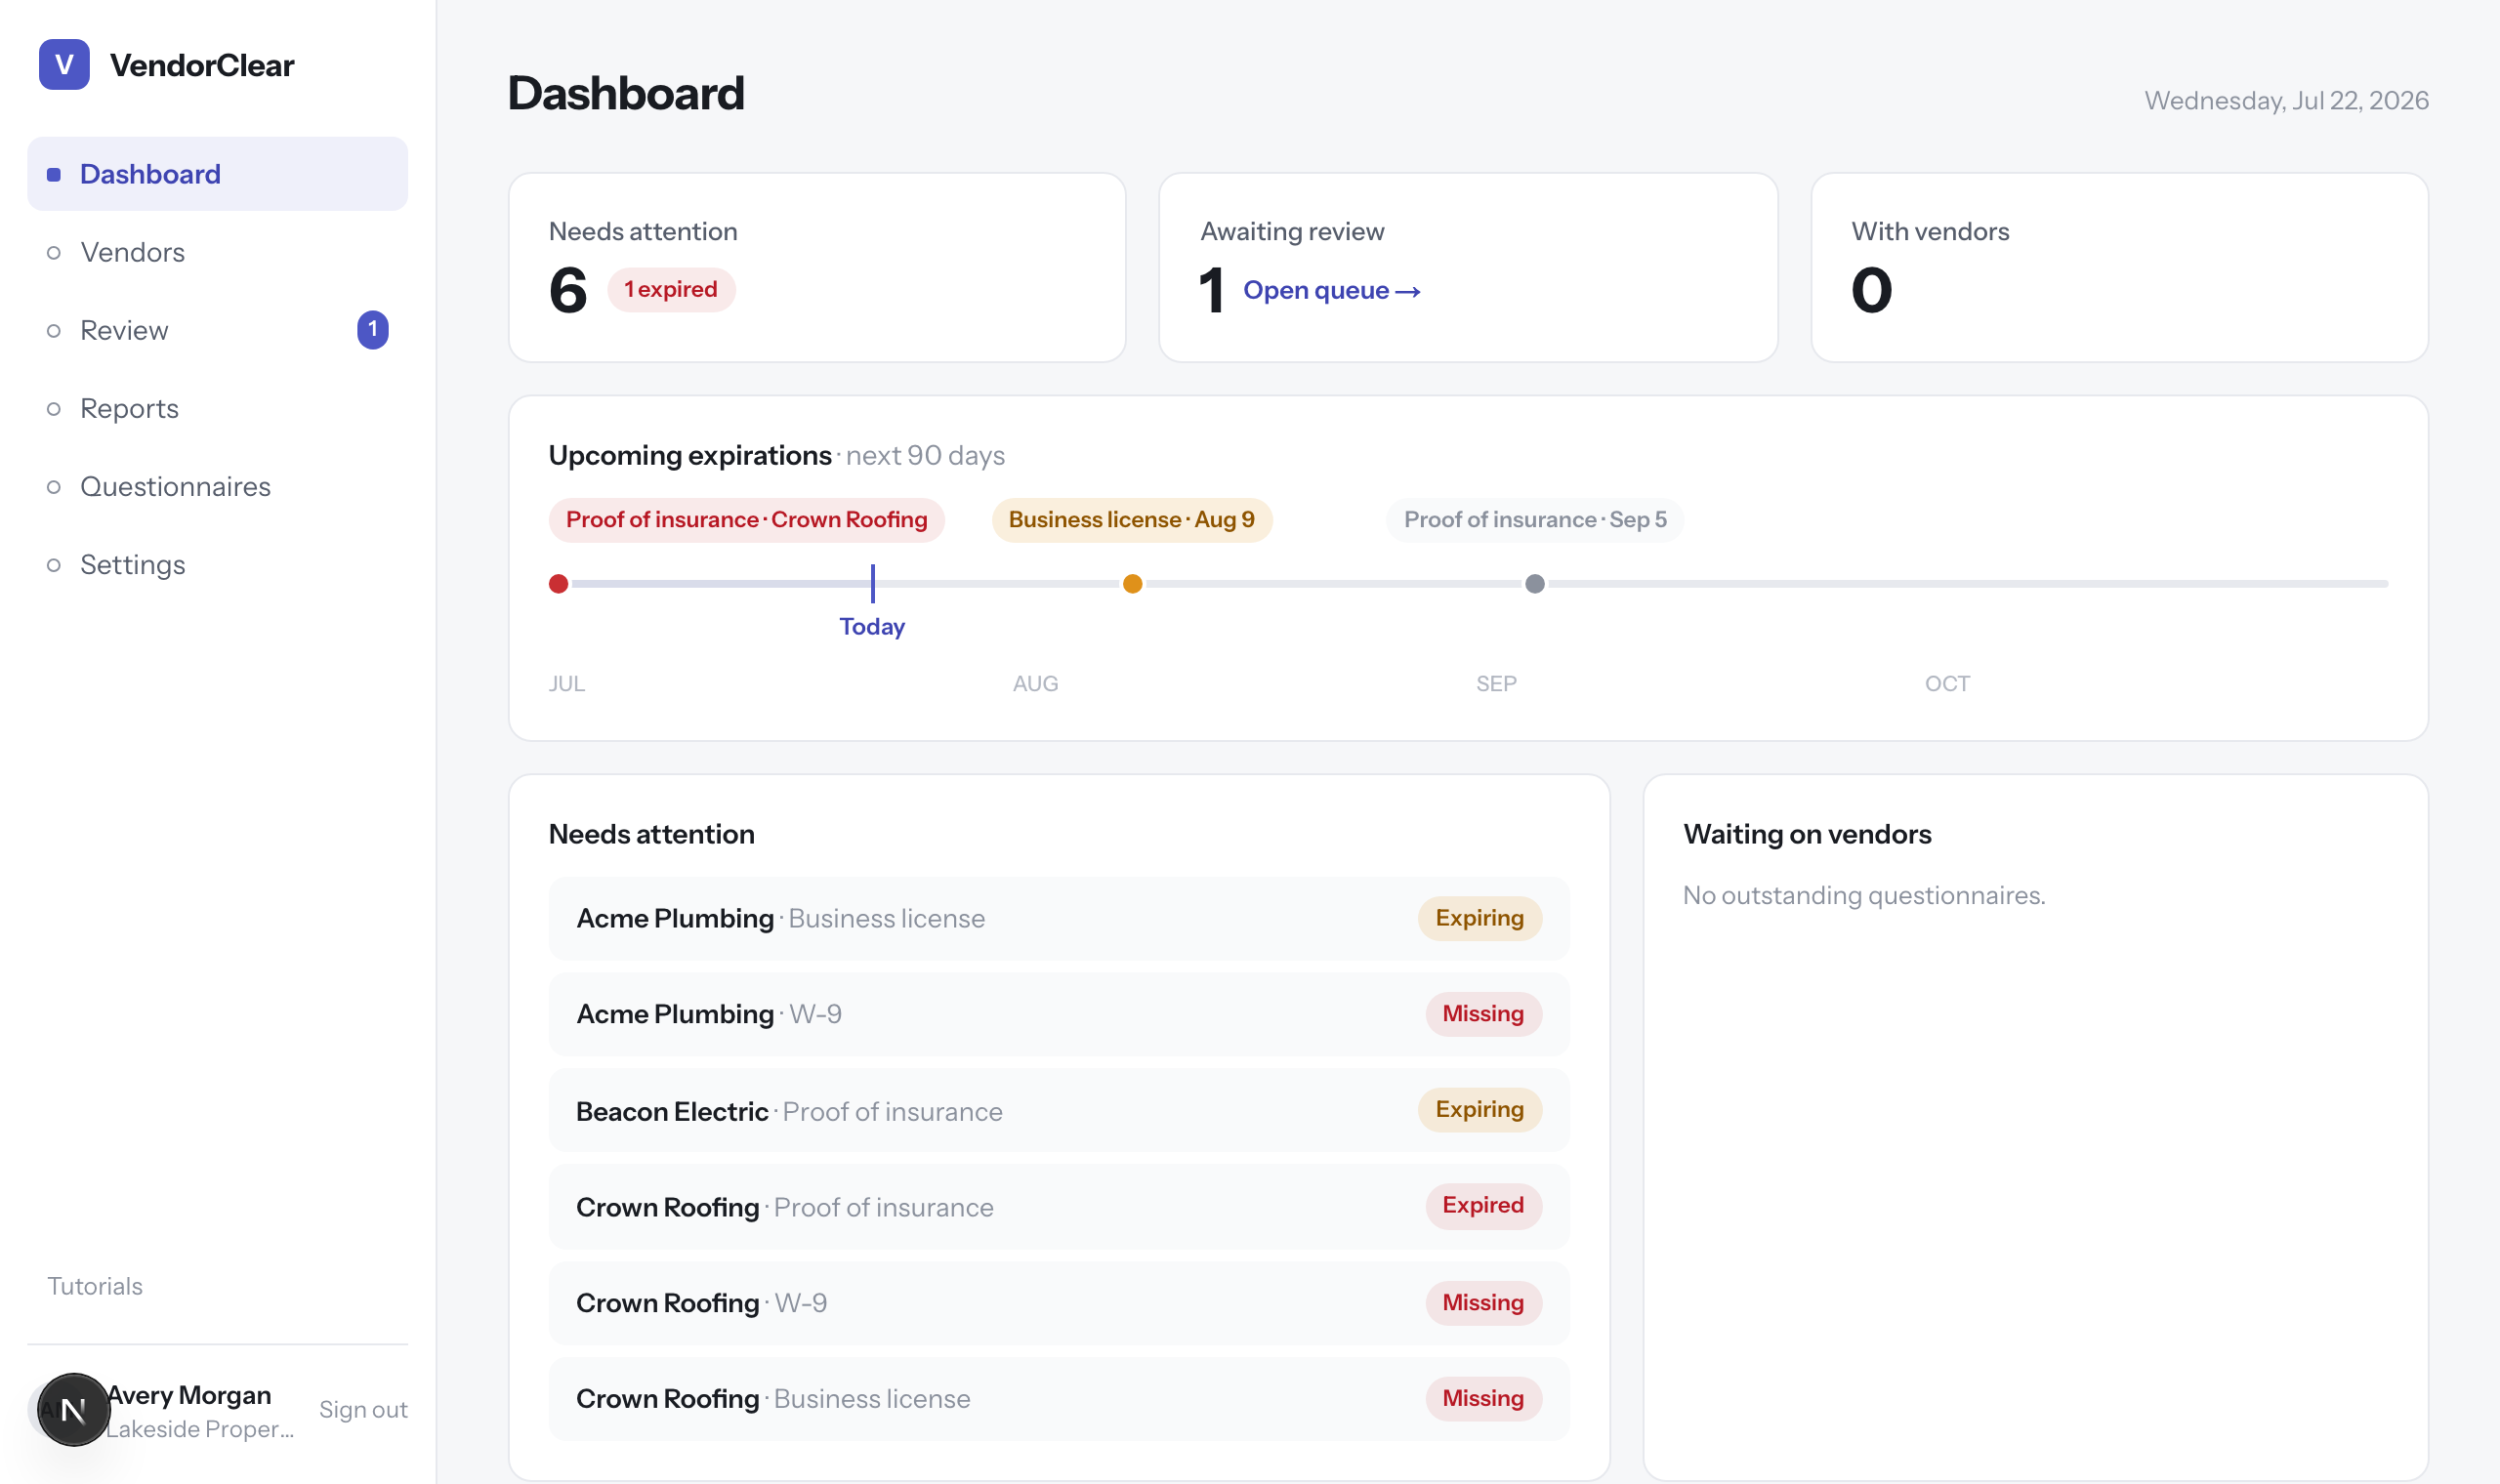
The dashboard — expiration timeline, attention counts, and the review queue at a glance.

